We knew Techno needed a space to work in our new home 100% of the time. His company continued to be based in Ohio with NO offices in Wyoming. So.....
Initially he had to be IN the house until said 'office' was completed. We brainstormed ideas for him to have a space in the living room or maybe a corner of the dining room. Eventually it became obvious the best location for his home office was in the master bedroom ....... TEMPORARILY!!! {After all, where's my craft/sewing space going to go?} :-)
The bedroom office wasn't the worst location. It was functional. He had SOME privacy and quiet for conference calls and meetings. However, the master bedroom IS the first bedroom down the hall as you head to the kids' rooms and play closet. So...... it. wasn't. ALWAYS. quiet!!! Not to mention, if I ever 'disappeared' into the bedroom, children came clamoring after me. Again, NOT so quiet.
We had intentions of starting this task early in the summer. But..... plans changed. Kids camp fundraisers, camp, work, our house in Cinci not selling, you name it: we kept procrastinating on this chore.
Finally, August rolled around. We realized if we wanted this to be accomplished before the snow came, we needed to get our buns in gear.
Techno had a work trip to Ohio planned. I announced I'D put up the insulation while he was gone. {Who does that? Who volunteers to hang insulation in AUGUST when it's H-O-T? Who said that? Me?} I was committed now -- or should I say I should have BEEN committed. ;-)
 |
| This is how it started early Aug. Nothing but the studs. |
 |
| Proof it was actually me who did the insulation. Even hung it in the ceiling. (needed help there though) |
 |
| Measuring, cutting |
 |
| Post insulation hanging. Have to say, I'm a bit proud of my handiwork. Especially considering I don't usually do this sort of task. |
I was going to say this was stage I of Operation Shed Transformation, but I must digress and recall what we had to do first to even get to such a point.
After we moved in and the snow all melted, we sent the kids to 'clean out' the shed. A sampling of what all was IN the shed..... boards from a different blown down shed; carpet scraps; garbage bags full of old wood, plastic, you name it; old paint; blinds; a sink; doors; metal scraps; etc; etc; etc; We were vaguely amused and astonished at what all the various previous owners had 'stashed' in this shed.
THAT........... was stage I!!!!
So, stage II - the insulation - I managed to accomplish in a couple days while Techno was out of town. {See above pics}
Next up: Cutting and hanging drywall or some form of boards for the 'walls'. {Since all that existed to date was the stud frame.}
Naively, we believed we could accomplish this on our own. "How hard could it be to 'throw up' some walls?", we mused.
Ha!
A little investigation and discussing options with friends from our new church and we quickly realized we were 'in over our heads'. Not that we COULDN'T accomplish such a task, but our time frame would have been GREATLY extended.
Fortunately, our youth pastor and new friend, Dan, offered his assistance in working on the rest of the shed.
Stage III of Operation Shed Transformation was underway.
Drywall hanging. On the walls AND the ceiling. Yep, thanks to Dan, we even made an A-T-T-I-C!

Jacob cutting/nailing.
|

Trinity - let lose with a knife.
|

We even gave the girls drills! Wha???
|

Charity was quite thrilled to use a drill.
|
| Due to Dan's expertise, this was done in just a couple days. W-O-W!!!! To top it off he even taped, mudded, and textured the walls. WOW-- WOW!!! | |

Mudding together - cover all those screws.
|

More mudding.
|

Final walls
| |
 |
| The original doors! Yep, they were THAT pretty. Yes, we will EVENTUALLY paint the OUTSIDE! |
 |
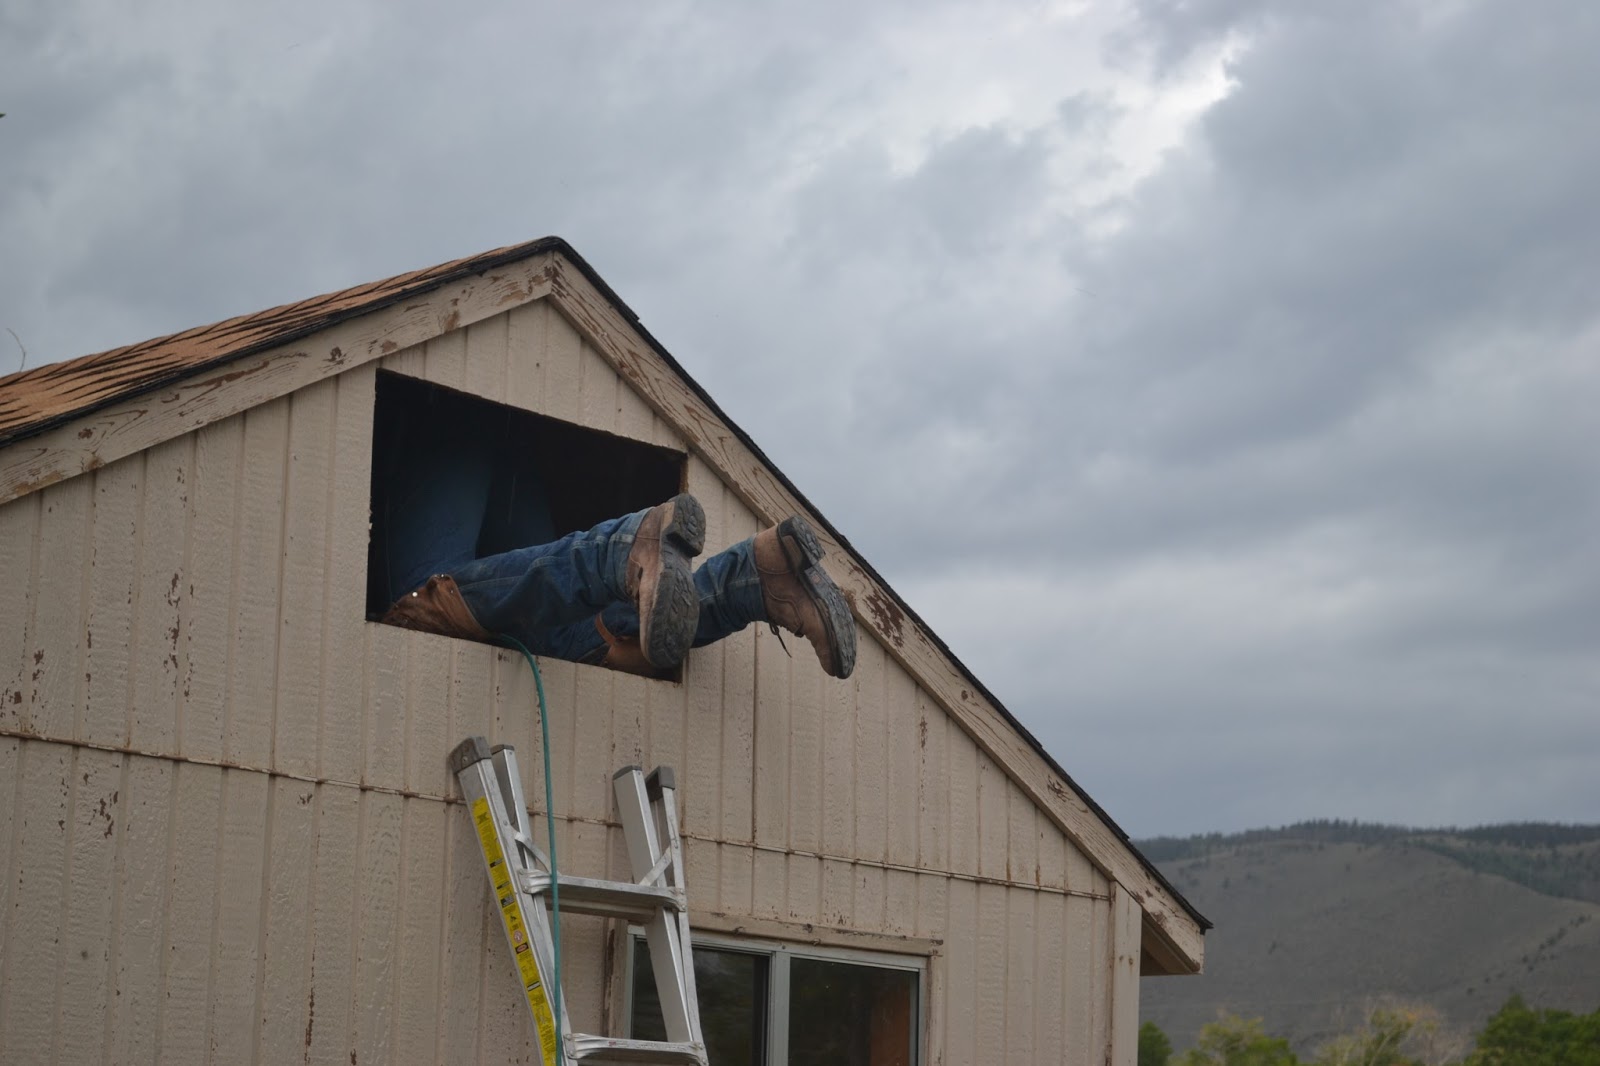
| Dan tearing out the 'old' to make room for the new. |
I have to add here, as part of this phase, Dan also put a REAL door in the building. I just can't call it a shed any longer. It. looks. toooooooooo. good! Initially it had 2 'barn like' doors that swung open and simply latched with a old timey slide dead bolt. NOW?
An honest to goodness door with windows, a key lock, and a REAL deadbolt lock. TRIPLE WOWZERS!
 |
| A REAL, awesome looking D-O-O-R! |
After that, Stage IV commenced. This was for Techno and me. PAINTING!!! He chose the colors -Crouching Tiger and French Market -- translation -- burnt orange and cream/beige/off white.
Great colors. I L-O-V-E IT!!!
 |
| Crouching Tiger and French Market get 2 thumbs up. |
Now for Stage V of Operation Shed Transformation.
 |
| Mr. Dan getting ready to hand Elijah insulation and floor boards for the attic. If you look hard, you can see Elijah up there in the shadows. |
Trim, casing around windows/door, flooring, outside door entrance for the attic, and flooring in the attic. All in ONE DAY! Again, thanks to Mr. Dan and his generosity in giving of his time and expertise. Boy, are we ever so grateful to him.
 |
| That's dedication. |
This really was a family event. A labor of love.
Again, we couldn't have finished it in the time we did if not for the tremendous help and skillfulness of Mr. Dan. HE. WAS. AWESOME! Many a nights he was here till midnight only to return the next night or weekend. Granted, due to his tremendous abilities the number of days was much less than we could have EVER imagined.
From start to finish, it only took us a little over 3 weeks. In terms of 'hours', I'd guess it took us less than week.
A WEEK!
Here's the final product.
 |
| The corner where Doug's desk will most likely be located. |
 |
| Our real door! Check out the casing around the window. Yet to be painted, but... stillllll.... this was all unfinished. |
 |
| Shelving will go under the windows and on the orange wall. The futon will eventually be housed along that wall as well.
Stage VI will be to move in the office furniture, put up lights, add some floor lamps, and get Doug's computers up and running. Here's hoping I'll have pictures by the end of the weekend.
Our original goal was to complete this task by the middle to end of September. It nice to be ahead of schedule -- by A LOT! All, again, thanks to our talented friend, Dan, and plenty of hard work by all involved.
|
Wowweeeee! Great job! How fantastic is Dan?! What a great and talented friend... I foresee a Mermaid Barbie bumble bee flower and hail cake in his future! ... or the equivalent :) I hope he realizes, not only did he help with the "shed", but he also added to your children's lives and educational experiences. Love this post!
ReplyDeleteHe's pretty fantastic. Yes, he's a huge proponent of teaching kids how to work with their hands. He takes the youth out shooting and hunting (once they'v have gun safety, of course), and does stuff like this all the time. Well, I'm not sure if a Mermaid Barbie, bumble bee, flower, hail cake is in his future, but we did make several meals for him during this time concluding with BBQ spare ribs, corn on the cob, quinoa salad, and honey cinnamon pears with ice cream last night. :-) Thanks. It was a wonderful experience. We're so glad it's almost done too. ;-)
Delete